Quickstart Start Guide
Get up and running with Pidima in just 15 minutes! This guide will walk you through the essential steps to start managing your engineering documentation.
Step 1: Access Pidima
- Open your web browser and navigate to your Pidima instance
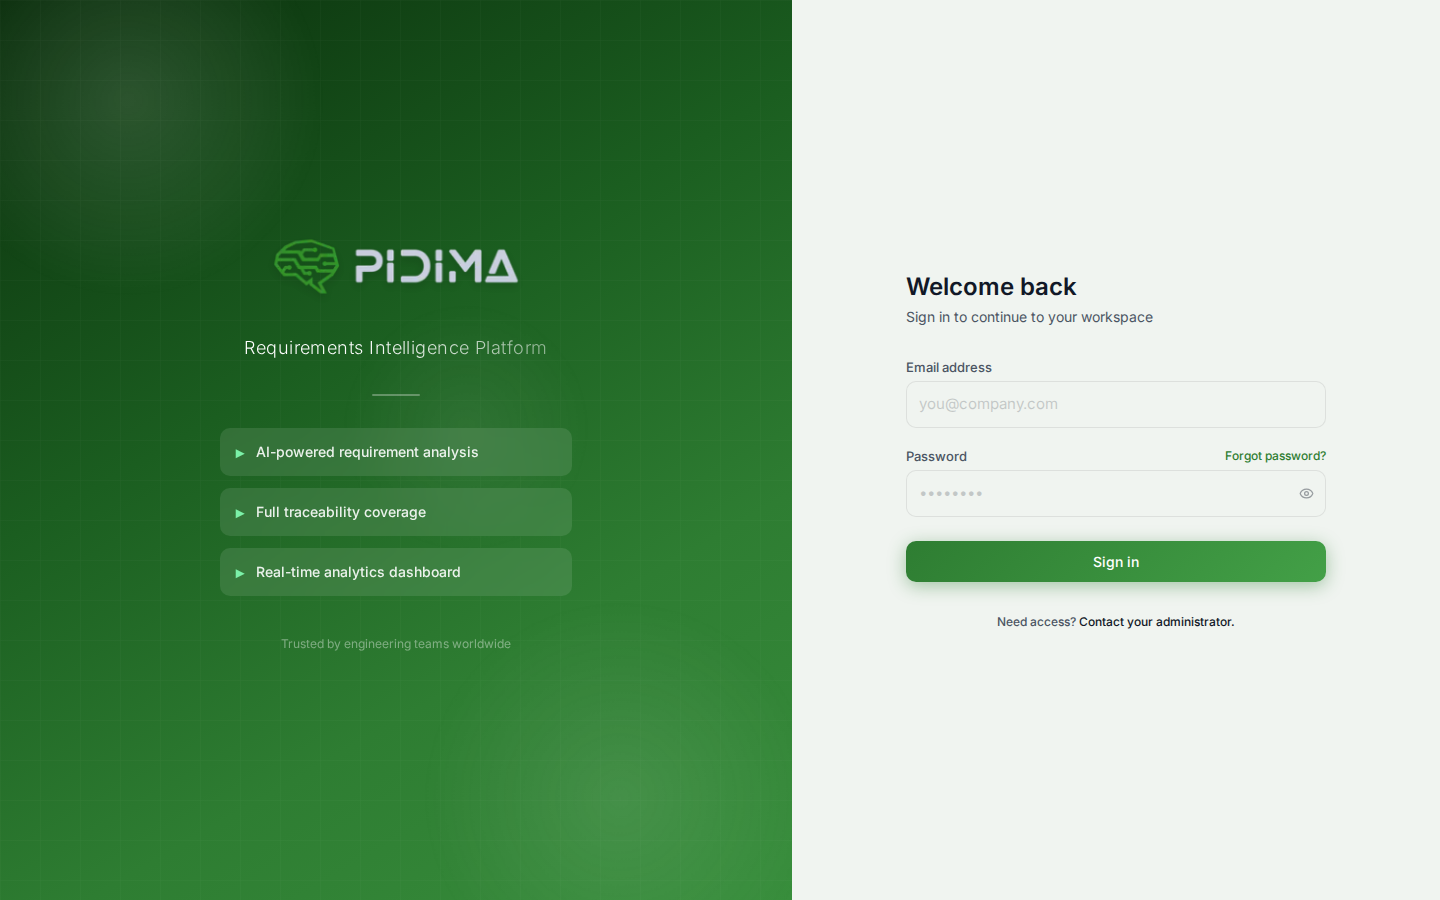
- You'll see the login page
Step 2: Log In
- Enter your email address
- Enter your password
- Click "Sign In"
💡 First time user? Your administrator will provide your initial credentials. You'll be prompted to change your password on first login.
Step 3: Explore the Dashboard
After logging in, you'll see the main dashboard with key metrics:
- Total Requirements
- Total Test Cases
- Coverage Rate
- Recent Activity
Step 4: Create Your First Project
- Click "Projects" in the navigation menu
- Click "New Project"
- Fill in the project details:
- Project Name: Give your project a descriptive name
- Prefix: A short code (e.g., "MDV" for Medical Device)
- Description: Brief overview of the project
- Account: Select the account this project belongs to
- Click "Create Project"
Step 5: Add Requirements
- Navigate to your new project
- Click "Requirements" tab
- Choose how to add requirements:
- Manual Entry: Click "New Requirement"
- Import: Click "Import" to upload Excel/CSV files
- AI Generate: Use AI to generate requirements from documents
Step 6: Generate Test Cases
- Select one or more requirements
- Click "Generate Test Cases"
- Review the AI-generated test cases
- Approve or modify as needed
Step 7: View Traceability
- Click "Traceability" in the navigation
- See the automatic links between requirements and test cases
- Ensure complete coverage for compliance
What's Next?