Importing Architecture Diagrams

Overview
If you already have PlantUML architecture diagrams in your documentation, you can import them into Pidima. This allows you to migrate existing architecture documentation and integrate it with Pidima's traceability features.
Supported Formats
PlantUML Files (.puml, .plantuml, .pu)
Pidima imports standard PlantUML files with the following structure:
@startuml
' Your diagram code here
@enduml
Supported diagram types:
- Use Case Diagrams
- Component Diagrams
- Sequence Diagrams
- State Machine Diagrams
- Class Diagrams
- Any custom PlantUML diagram
Import Methods
Single File Import
Import one diagram at a time with full control over metadata.
Steps:
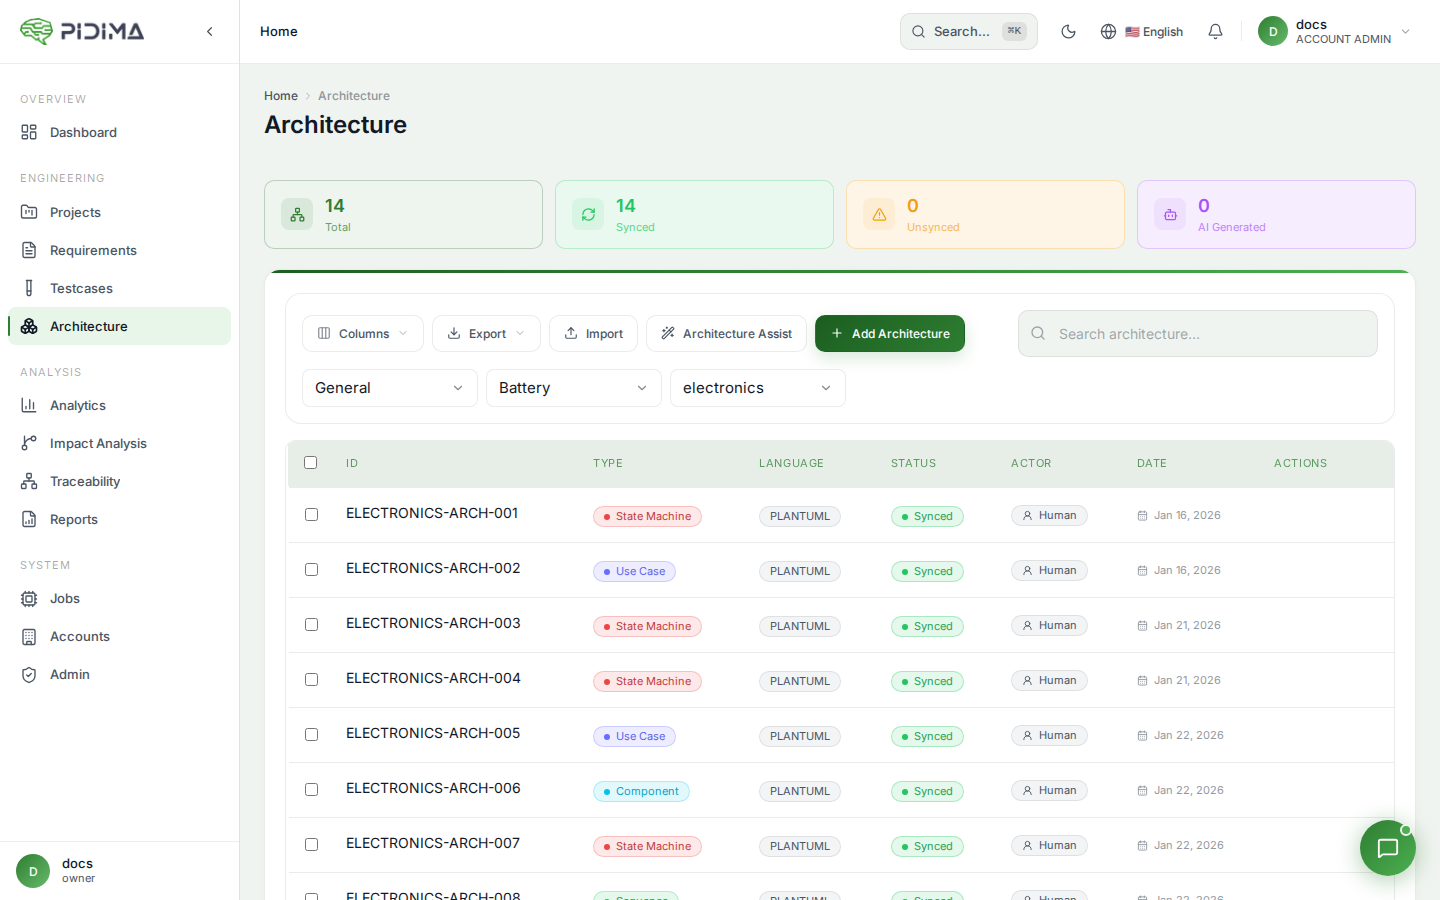
- Navigate to Architecture in your project
- Click Import button
- Select Single File
- Upload your
.pumlfile - Fill in details:
- Diagram Name — Descriptive name
- Diagram Type — Select appropriate type
- Level — Choose project level
- Click Import
Use when:
- You have a few diagrams to import
- You want to review each diagram
- You need to set specific metadata per diagram
Bulk Import
Import multiple diagrams simultaneously for faster migration.
Steps:
- Navigate to Architecture in your project
- Click Import button
- Select Bulk Import
- Upload multiple
.pumlfiles - Select target level (all diagrams will be imported to this level)
- Click Start Import
Bulk import creates an async job:
- Job processes files in the background
- Monitor progress in the Jobs panel
- Notification when complete
- Failed files are reported with error details
Use when:
- Migrating existing architecture documentation
- You have many diagrams to import
- Files follow consistent naming and structure
Preparing Files for Import
File Naming
Use descriptive file names that will become diagram names:
Good:
user-authentication-flow.puml
payment-processing-components.puml
order-state-machine.puml
Less ideal:
diagram1.puml
untitled.puml
temp.puml
Tip: File names (without extension) automatically become diagram names in bulk import.
PlantUML Code Structure
Ensure your files have proper structure:
Required Elements
@startuml
' Content must be between these tags
@enduml
Optional but Recommended
@startuml
' Title appears in some renderers
title User Authentication Flow

' Metadata as comments
' Author: John Doe
' Date: 2026-01-20
' Version: 1.0

' Your diagram content
actor User
@enduml
Validating Before Import
Check your files before importing:
- Syntax validation — Use PlantUML tools to verify syntax
- Rendering test — Ensure diagram renders correctly
- Character encoding — Use UTF-8 encoding
- File size — Keep files under 1MB for best performance
Online validators:
Import Process
What Happens During Import
- File Upload — File transferred to Pidima
- Validation — PlantUML code syntax checked
- Image Generation — Diagram rendered to PNG
- Storage — Code and image saved to database
- Metadata Creation — Diagram record created
- Completion — Diagram appears in architecture list
Import Time
Single import: 2-5 seconds per diagram Bulk import: 30-120 seconds for 10-20 diagrams
Factors affecting speed:
- Diagram complexity
- File size
- Number of diagrams
- Current server load
Monitoring Bulk Import
Via Jobs Panel
- Click Jobs icon (🔔) in top right
- Find "Architecture Import" job
- View progress:
PENDING→PROCESSING→COMPLETED
Job Results
- Success count — Number of diagrams imported
- Failed count — Number of failures
- Error details — Specific errors for failed imports
Post-Import Tasks
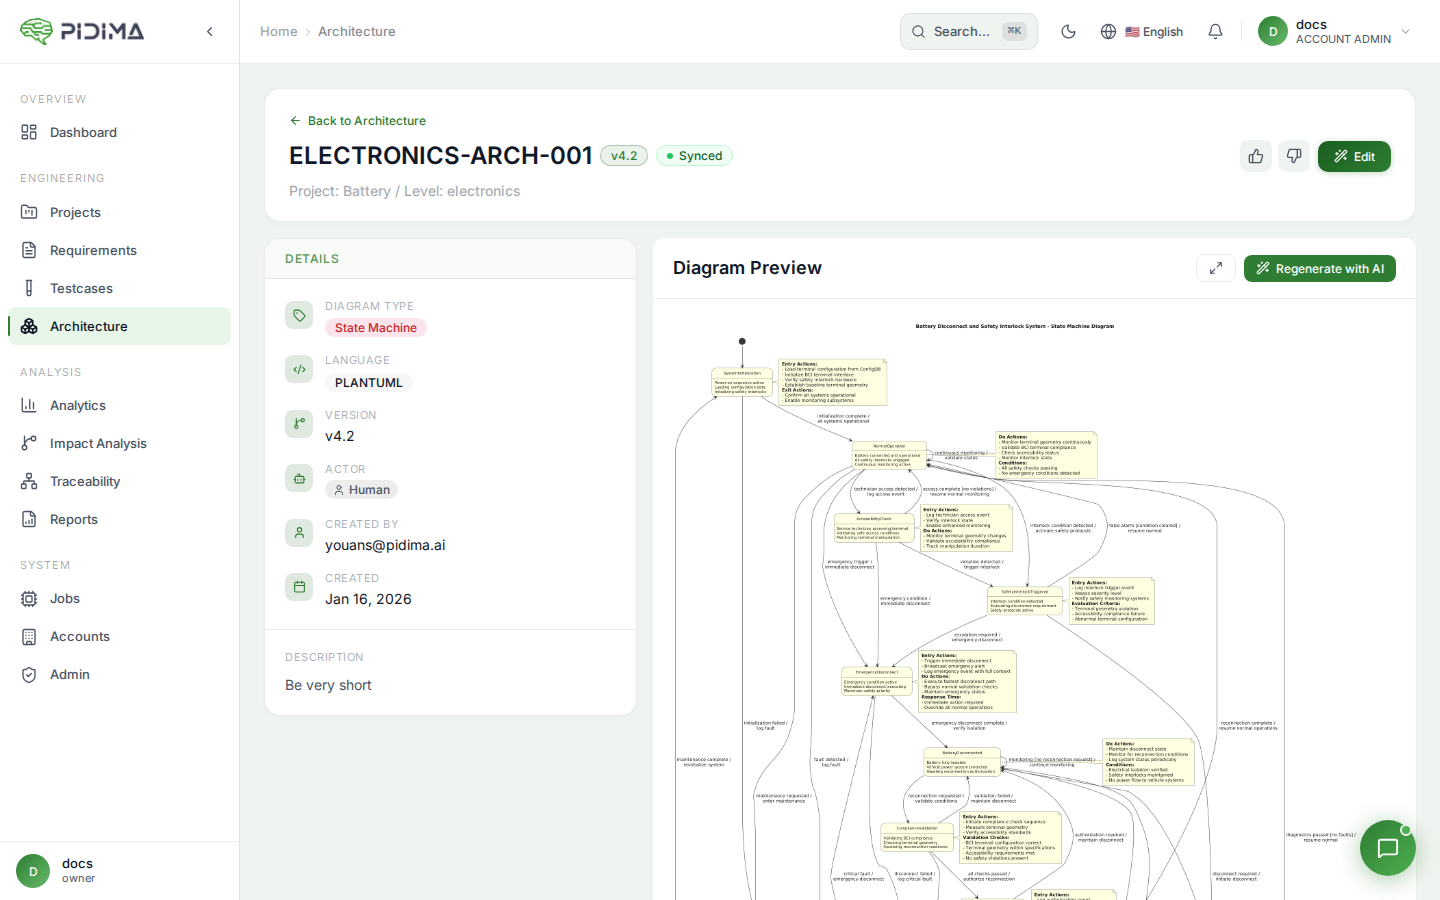
Review Imported Diagrams
- Navigate to Architecture page
- Find newly imported diagrams
- Open each diagram to verify:
- ✅ Image renders correctly
- ✅ Diagram name is appropriate
- ✅ Diagram type is correct
- ✅ Assigned to correct level
Update Metadata
You may want to edit imported diagrams to:
Add Assumptions
Document architectural decisions and constraints:
1. All communication uses HTTPS
2. Database connection pooling with max 20 connections
3. Session timeout set to 30 minutes
Link to Requirements
Connect diagrams to relevant requirements:
- Open diagram details
- Click Link Requirements
- Select requirements the diagram describes
- Save links
Adjust Diagram Details
- Update diagram name for clarity
- Change diagram type if auto-detected incorrectly
- Move to different level if needed
Organize in Levels
After bulk import, organize diagrams:
- Group related diagrams — Move to appropriate levels
- Create hierarchy — High-level diagrams in parent levels
- Detail diagrams — Detailed diagrams in child levels
Best Practices
Before Import
Do:
- ✅ Validate PlantUML syntax locally
- ✅ Test render each diagram
- ✅ Use descriptive file names
- ✅ Organize files in folders by level/category
- ✅ Review and clean up old diagrams
Don't:
- ❌ Import without validating
- ❌ Use generic file names
- ❌ Include temporary or draft files
- ❌ Import duplicates
During Import
Do:
- ✅ Select correct target level
- ✅ Import related diagrams together
- ✅ Monitor bulk import progress
- ✅ Check for error notifications
Don't:
- ❌ Navigate away during single import
- ❌ Import to wrong level
- ❌ Ignore validation warnings
- ❌ Start multiple bulk imports simultaneously
After Import
Do:
- ✅ Review all imported diagrams
- ✅ Link diagrams to requirements
- ✅ Add assumptions and context
- ✅ Organize into proper levels
- ✅ Update diagram names if needed
Don't:
- ❌ Assume import was perfect
- ❌ Leave diagrams unlinked
- ❌ Keep poorly named diagrams
- ❌ Forget to document context
Troubleshooting
Import Fails
Problem: Import rejected or fails
Possible causes and solutions:
Invalid PlantUML Syntax
- Check: Validate code at plantuml.com
- Fix: Correct syntax errors
- Re-import: Upload corrected file
Missing @startuml/@enduml Tags
- Check: Open file and verify tags present
- Fix: Add missing tags
- Re-import: Upload corrected file
File Too Large
- Check: File size (should be < 1MB)
- Fix: Simplify diagram or split into multiple files
- Re-import: Upload smaller files
Character Encoding Issues
- Check: File encoding (should be UTF-8)
- Fix: Save file as UTF-8
- Re-import: Upload re-saved file
Diagram Renders Incorrectly
Problem: Diagram imports but looks wrong
Solutions:
- Edit diagram — Adjust PlantUML code
- Regenerate image — Click "Regenerate Image"
- Check original — Compare with original rendering
- Simplify — Remove complex styling or elements
- Re-import — Delete and import corrected file
Bulk Import Partially Fails
Problem: Some diagrams import, others fail
Solutions:
- Check job details — See which files failed and why
- Fix failed files — Correct issues in original files
- Re-import failed — Import only the corrected files
- Review errors — Common issues often affect multiple files
Diagram in Wrong Level
Problem: Imported to incorrect level
Solutions:
- Edit diagram — Change level in diagram settings
- Delete and re-import — If many diagrams affected
- Use filters — Find all misplaced diagrams easily
Migration Strategies
Small Projects (< 20 diagrams)
Strategy: Single file import with review
- Import diagrams one by one
- Review and set metadata for each
- Link to requirements immediately
- Organize as you go
Benefits:
- Full control over each diagram
- Immediate quality check
- Proper organization from start
Medium Projects (20-100 diagrams)
Strategy: Bulk import by category
- Group files by level or type
- Bulk import each group
- Review imported groups
- Link and organize by batch
Benefits:
- Faster than single import
- Organized import process
- Manageable review batches
Large Projects (100+ diagrams)
Strategy: Phased bulk import
Phase 1: High-priority diagrams
- Import most important diagrams first
- Review and link these carefully
- Establish patterns and standards
Phase 2: Remaining diagrams
- Bulk import remaining files
- Quick review for major issues
- Link in batches
Phase 3: Refinement
- Organize all diagrams
- Update naming for consistency
- Complete linking to requirements
Benefits:
- Important diagrams available quickly
- Manageable in phases
- Quality maintained where it matters most
File Organization Tips
Before Import
Organize your PlantUML files on your local system:
architecture/
├── level-1-system-overview/
│   ├── system-context.puml
│   └── system-components.puml
├── level-2-subsystems/
│   ├── auth-subsystem.puml
│   ├── data-subsystem.puml
│   └── api-subsystem.puml
└── level-3-detailed/
    ├── auth-sequence.puml
    ├── data-model.puml
    └── api-flow.puml
Then import each folder to its corresponding level in Pidima.
Automated Import (API)
For very large migrations, consider using Pidima's API:
# Example: Import all .puml files from a directory
for file in *.puml; do
curl -X POST https://pidima.ai/api/v1.0/architecture/import \
-H "Authorization: Bearer YOUR_TOKEN" \
-F "file=@$file" \
-F "projectId=YOUR_PROJECT_ID" \
-F "levelId=YOUR_LEVEL_ID"
done
Benefits:
- Fully automated
- Repeatable process
- Scriptable and version-controlled
- Can integrate with CI/CD
See: API Documentation for details.